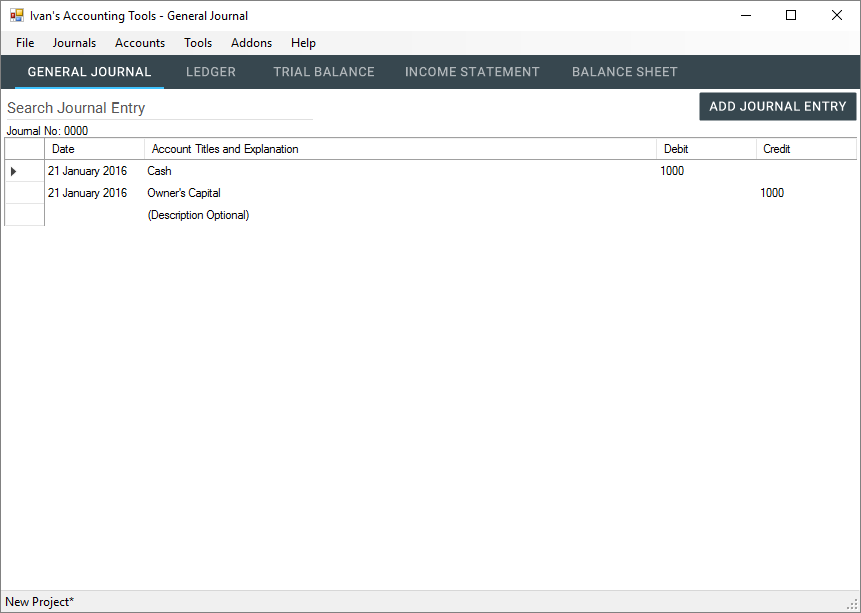
Adding a new Journal Entry
To add a journal entry, simply go to "Journals" and select "Add Entry". This can also be accessed using the keyboard shortcut "CTRL + A"

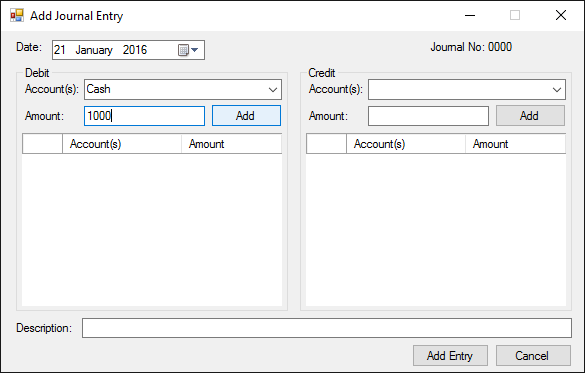
You will then be greeted by this form. The first step will be to change the journal entry's date.

Fill in the required information such as which account(s) will be debited and which account(s) will be credited.
When you click "Add" you will be greeted by this message box, fear not! It is not an error. It means that the account which you have specified to debit or credit from does not exist in the system yet.
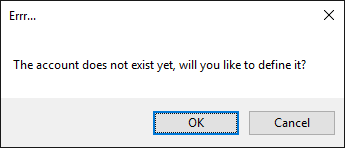
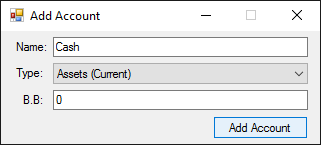
Click "Ok" on the message box and a form will show up asking you to define the account type.
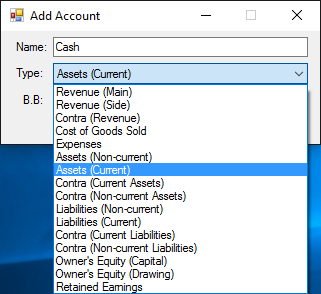
Select the account type from the drop-down box (See Account Types) and set the beginning balance (it is set to 0 as default).
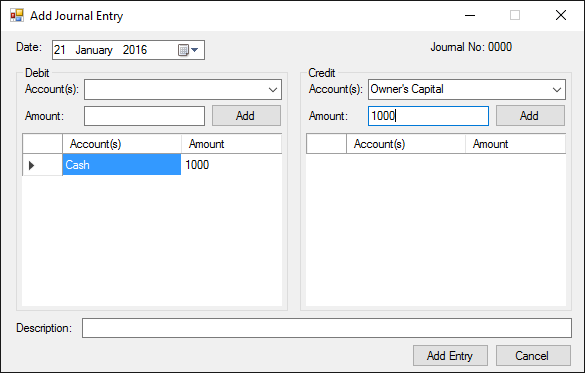
After you have added the account, you will return to the "Add Journal" form. As you can see, the "Cash" account is added to the Debit side of the form with it's amount. Now do the same for the Credit side.
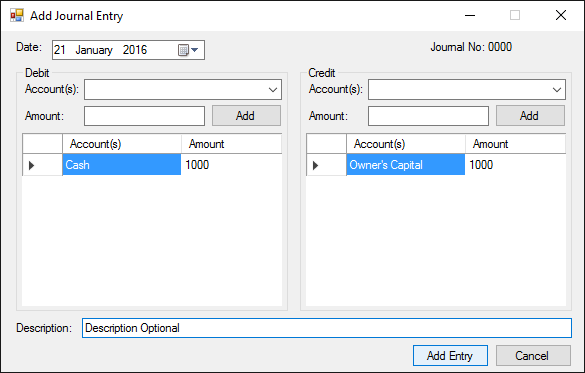
Now you have an account to be debited from and an account to be credited from, you have to make sure that the sum of the debit side is equal to the sum on the credit side or the program might throw up an error (See Commonly Occuring Errors). You can also add a description to the journal entry. Click "Add Entry" to add the entry, if everything checks out, there should be no problem.
The form will close and you will now have a new journal entry on the General Journal
